Multiple choice / multiple options
Multiple choice and multiple options questions allow you to identify a series of standard responses from which your respondent or interviewer/observer can choose from. With multiple choice, you can only select only one of the options. With multiple options, you can select more than one option at a time.
Working with classes
Modifying the class names (column headers)
When you set the Question type to 'Multiple choice', you will get an empty table with three classes, called 'Class 1', 'Class 2' and 'Class 3'. To change these column headers, just click somewhere in the column, and then on the  button. You can also double-click on the column header. This will make a text field appear, where you can modify the name of this class (column).

Adding and removing classes
If you want to add a class (column), click in the column to the right of where you want to insert it. For instance in the example above, if you want to add a column between Class 2 and Class 3, you should click in the Class 3 column. Then press the  button in the toolbar.
If you want to remove a class (column), click in the column itself and then on the  button.
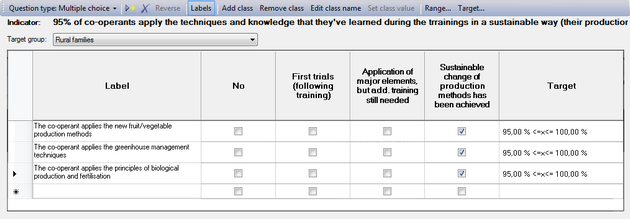
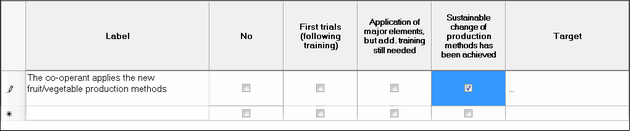
Add questions and indicate the preferential answer
Go to the first row and enter the first question in the 'Label' column. Then you can indicate what would be the correct or preferred answer from your respondents, by clicking in that column. A check mark will appear.
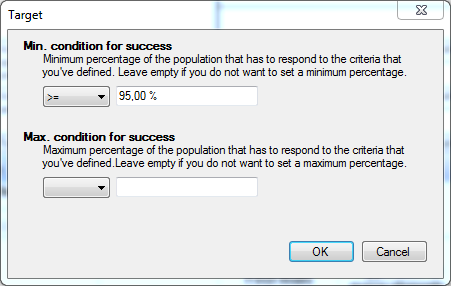
Setting the target of a multiple choice/options question
You can set the target in terms of how many beneficiaries out of the total group (population) will achieve this target. Click on the  button, or double-click on the target cell in the table to open the following dialog window:
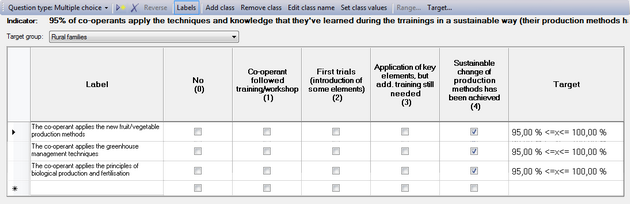
Setting class values
If you want, you can give every class a number to facilitate the registration of results. You can use these values in a different way too, to give points or scores as in the example below: if the co-operant has only introduced some elements of what he/she learned on a training, he/she will get 1 or 2. If she/he rely applies what she/he has learned, then the score will be 3 or 4.
Click on the  button to open the following dialog:
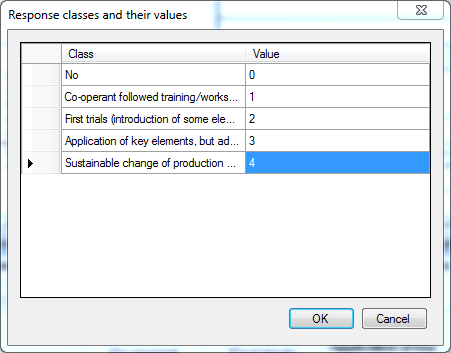
In the first column, you can see the class names (the text that appears in the column headers). In the second column you can enter any value you want.
When you press the < OK > button, you will see these values appear in the column headers between brackets, below the text, as in this example: