Working with maps
In logframer you can indicate the location of:
- Target groups: pinpoint the location of your target group(s) or draw a line around the area in which they live
- Partner organisations: pinpoint the location of the office(s) of your partner organisations. You can also indicate the location of your own organisation
- Intervention zones: pinpoint the location of your intervention zone(s) or draw a line around the zone(s)
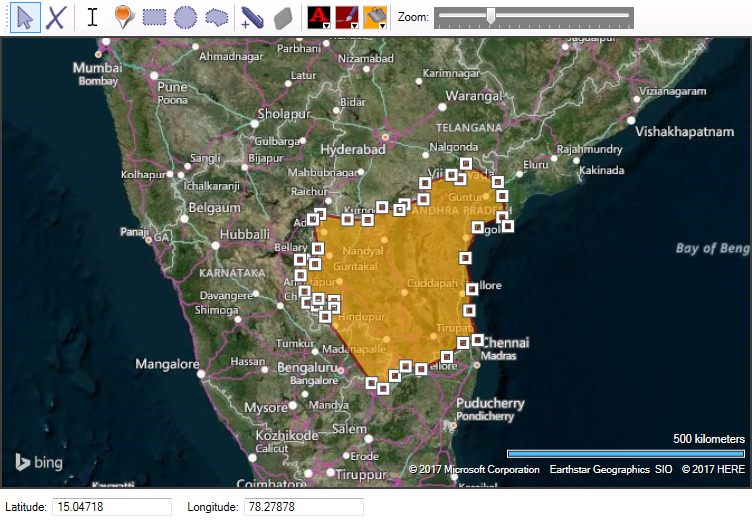
For each of these items you can use a dynamic map of the world that allows you to zoom in and use different drawing tools to indicate a location or area:
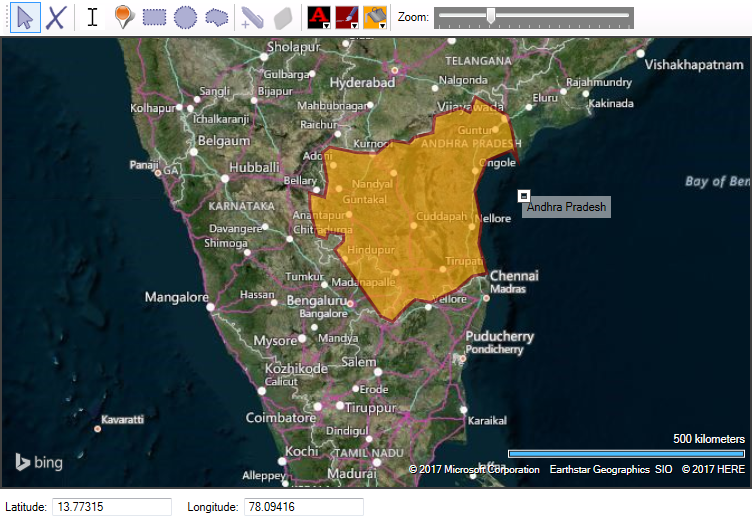
In this section we will explain how to:
- Navigate
- Indicate locations and draw shapes around areas; add labels with text; change the colour of the shapes and text
- Remove pins, text and shapes
- Edit the outline of shapes
How to navigate
To move about in the map
Click somewhere in the map with your left mouse button and drag in the opposite direction of where you want to go. So if you want to move to the east, drag your mouse to the left (west).
To zoom in and out
You can use the zoom slider in the toolbar:

If you have a scroll wheel on your mouse, you can use that to zoom in and out.
When you create a map, Logframer will remember what part of the map you zoomed into, so the next time you open the project you will see exactly the same map on the same scale.
Drawing on maps
You can find the different drawing tools on the toolbar above the map.

You can indicate
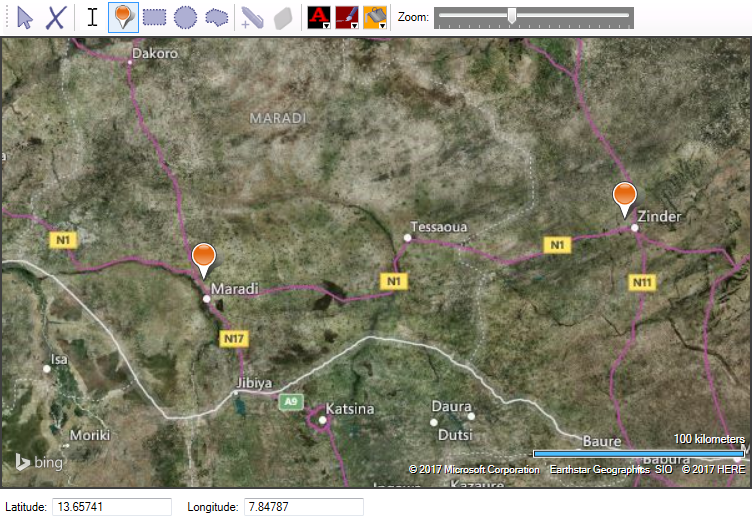
- Individual locations using the Pinpoint tool
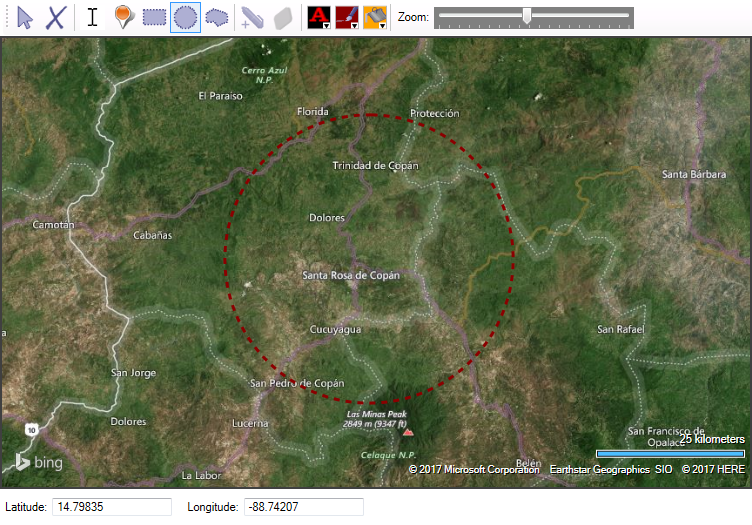
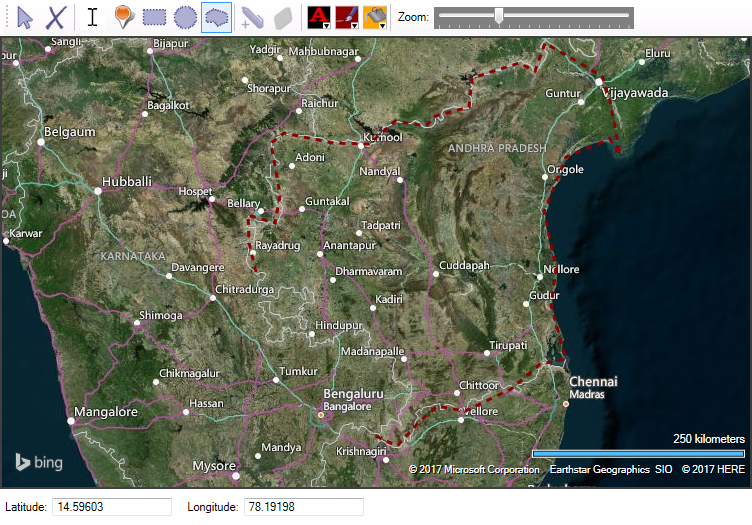
- Areas using the Rectangle, Circle or Polygon tool
- Text labels using the Text tool
To add a pin, shape or text, select one of the drawing tools and double-click on the location where you want to start.
For individual locations, the Pinpoint tool is the easiest to use. Double-click on the location and a pin will appear. This pin remains the same size, regardless of whether you zoom in or out.
If you want to draw a rectangle or circle around the area of your choice, double-click on the map and then drag to the required size.
If you want to draw a complex shape (for instance following country or administrative borders) you can use the Polygon tool. Double-click on each corner and gradually return to your starting point.
If you want to change the colour of the shape, you must first select it with the Selector tool (the blue arrow in the toolbar). Click with the Selector tool on your shape and you will see handles appear on the corners to indicate it is selected. Then choose the line colour or fill colour of your choice.
Remove items from maps
To remove a pin, a shape or a label from the map, use the Selector tool (blue arrow in the toolbar) and click on the item you want to remove.

When the item is selected you will see handles appear on the corners (white squares). Then you can press the Remove button (second button in the toolbar) to delete the item.
Editing shapes
Once a shape is drawn on the map you can still modify it. First, use the Selector tool to select the shape (click in the shape).
- If you want to move the location of a corner point, click on the white handle and drag the handle to its new location
- If you want to add a new corner point between two others, choose the Insert handles tool (pen) and double click somewhere between the two neighbouring corners. This tool is only enabled when you have selected a shape.
- If you want to remove a corner point, choose the Remove handles tool and click on the handle (white square) that you want to remove.